Homeserver 1: How to set up virtualisation, the easy way
So this week while I had some free time I wanted to take an old computer I had and set it up for virtualisation so I could quickly spin up virtual Linux servers for dev environments/projects/whatever came up. I wasn’t quite sure what I wanted to do at first, so this was a little bit of a process of finding out what I want, and what’s easy to do.
Virtualisation
Virtualisation is when you use one set of hardware (CPU, RAM, PSU, etc.) to host multiple instances of Operating Systems. This is all organised through a virtualisation manager.
There are two types of virtualisation:
- Type 1 - This is when the virtualisation layer is run on the bare hardware, e.g., ESXi, Hyper V on Windows Servers. It has performance benefits due to a lower processing overhead in managing the virtualisation.
- Type 2 - This is when you run a host OS like CentOS or Ubuntu that then runs a virtualisation layer. Most familiar for home-users is VirtualBox, another example being Qemu.
Why?
Virtualisation lets you spin up machines on the same hardware without going through the most annoying steps which generally involve getting up out of your chair, moving chunks of real things about, unplugging and plugging in cables. None of that is fun. I’ve already tried to minimise that with HDMI and USB switches for my set-up.
What we generally want to do is tap a little bit at a keyboard, maybe if you’re not so hardcore move the mouse around a bit, and by magically re-arranging a lot of bytes have a new machine you can play about on. A Sitting Down Certified task.
We might want different machines because
- we want to keep different services compartmentalized,
- avoid conflicting software dependencies for a particular service or development project,
- we want to try a different OS for something or other, maybe there’s software that only runs on Windows but your laptop is a Mac
Basically it can be very convenient to have this ability and I’m all about finding ways to be lazy by doing something up front.
Doing it
Initial plan
Initially I was planning on a standard Type 1 Hypervisor. ESXi has a free version and I found a blog of someone doing something very similar to follow as a guide. However, I don’t have ethernet run where the box I’m running this on is yet, and it wasn’t until I got to the setup screen post install that I realised ESXi doesn’t have WiFi support and I wouldn’t be able to get onto the network without it. Since one of the priorities of this project was laziness, running cat6 cable unnecessarily wasn’t high on my list, so I threw ESXi out.
It turns out CentOS 8 has an incredibly easy install and management solution for virtual machines. CentOS is very close to the Red Hat OS that forms the backbone of most enterprise Linux networks, so it’s no surprise that it’s such a polished experience with easy management through both GUI and CLI.
Installing
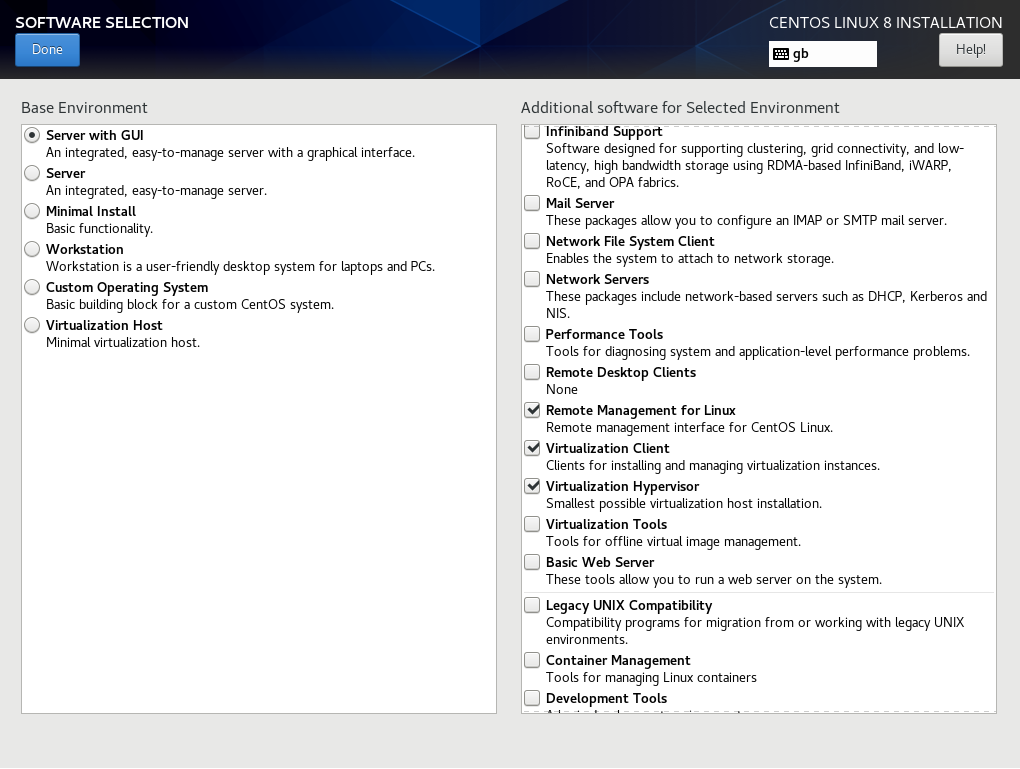
As I’m still green around the ears, I went with the GUI server installation with the pre-requisite options for virtualisation. It’s also important to note if you want to work with Wireless networking out of the box you’ll have to check the System Tools add-on.

It’s good practice to get familiar with CLI management as that’s the way you can get into scripting and automating these processes. I’m not there yet, but I might look into it soon. Either way, once you have the operating system installed it’s very easy to get set up with the Cockpit manager, which makes exploring server management very easy and friendly to get started with. If you have logged in to your server after install, and ensured it’s connected to the local network, you can start the Cockpit service with
sudo systemctl enable --now cockpit.socket After that the Cockpit site will be running at port 9090 on your machine. You can connect to it by opening up a browser on whatever other computer you’re using and navigating to https://<your-server-IP-here>:9090, e.g., https://192.168.0.1:9090
By default the server will have a self-signed certificate installed. I would recommend setting up a certificate authority on your personal network if you’re going to mess around with this kind of stuff, and then authenticate each machine against that authority. I couldn’t really find an easy way to figure out how to run a certificate signed by an authority as this is on a domestic connection. I’m wondering if there are ways to sort out certificates on a domestic network with a public IP that is liable to change. I’ve definitely seen people talk about this in the past but I have no memory of how that’s done, if you have any suggestions please let me know as I’d love help here!
Actually running the VMs
With this install the server will be all set up to run Virtual Machines through KVM which is a virtualisation solution for Linux. The way this runs is it loads a kernel module that then provides the virtualisation infrastructure, which is subsequently managed by a daemon service running on the CentOS system that’s also running the Cockpit server management. In Cockpit you’ll see under the Applications tab there’s an option to install ‘Machines’. This will add the ‘Virtual Machines’ tab to your sidebar, from which you can create, install, and interact with all of your virtual machines.

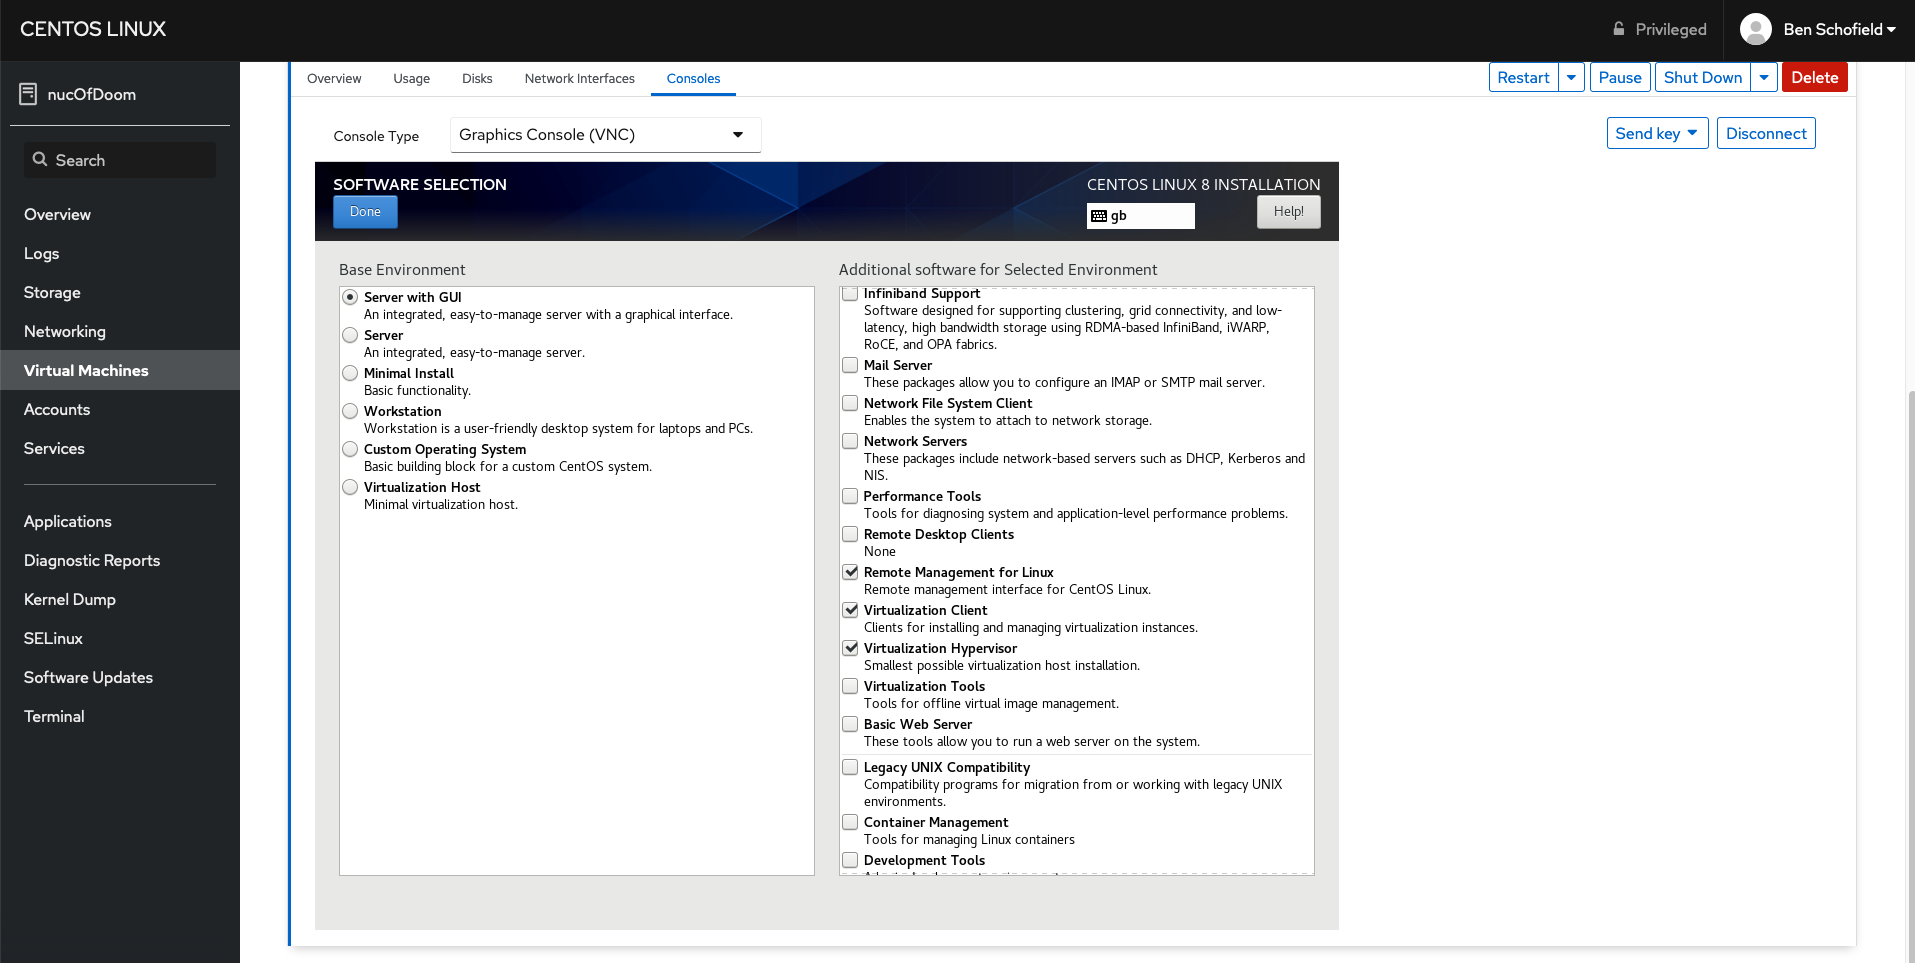
You can see now that screenshot from earlier was actually a new Virtual Machine running in a VNC in my browser:

What now
I’m really happy with this project. It was very easy to get up and running once I took the CentOS route. Now it’s all sorted I’m looking to maybe use this to either run development machines, or mess around with Kubernetes, Ansible, or various other DevOps tools for managing multiple servers.